Hello dear
friends, this is my first tutorial for 7dotsstudio !Today I will share with you a calendar
I made for the new Year 2016.To be honest ,i’m a bit of a calendar girl ,
organizing my works to do, planning my schedules, prepare everything in order to be in time .I have chosen
the Verano Azul and Lost and Found collections because I liked their very fresh
mood and colors plus the optimistic quotes!!


So let’s
get started….
1 BASIC CONSTRUCTION
First you
cut a monochromatic hard cardstock (over 200gr) in 2 pieces, 6x6 inches and score them at about
1 and 1,4 inches .I have chosen
black .


After that,
place a double sided tape over one side of the scored cardstock and do the same
to the second cardstock too.

Now, distress
edges
with a distress tool (or with your scissors) and create a vintage look around
with a distress ink.

So, adhere both cardstocks over the 12x5 inc 7Dots paper , with the score lines in the
middle of the paper BUT leave some space
between cardstocks( about half of an inch), so that ,when you bend your papers ,there
will be comfort and enough space to bend
it.


Do that and then bend all lines with your score
tool, creating a triangle .Between the cardstock there is a space to bend also
, but reverse from the other score lines . So you’ll have a result like the
photo’s above…At the free edges we will cut the holes to places our wire, so that the
whole construction will be stand.


Glue on the
other side too and bend also. This is
going to be the basic stand, to place all of your papers with the front page and the inner month pages
2 COVER PAGE
Cut another
cardstock 5x5 inches, which is going to be the base to your cover of the
calendar .

Gather all your embellishments ,mists , sticker ,chipboards , stamps etc,
that you’ll need and start decorating. I used
7 Dots Studio - Verano Azul - Tags
12x12 , 7 Dots Studio - Verano Azul -
Element Stickers 6x12
, 7 Dots Studio - Verano Azul - Word
Stickers 6x12 , 7 Dots Studio - Lost and Found -
Element Stickers 6x12
, 7 Dots Studio - Lost and Found -
Die-cut Elements 6x12

Then distress
again all edges of tags and papers
that you’re going to use .


Add double
sided tape and start decorate…


Attention!!! Before you put many layers of
papers , cut your holes where you’re
going to place the wire( I use the Zutter machine, so the space is limited when
you’ll place the paper between the machine hole punch. )

At this
point , use your stamps, splashes , mists, fabric, flowers or everything else you like to decorate under
your cover page (hidden objects
I call them ) and give a 3d effect.

Finally ,
glue your basic elements that you want to show in front and decorate . Splash
again here and there mists,gesso, paint
or any kind of inks you wish.


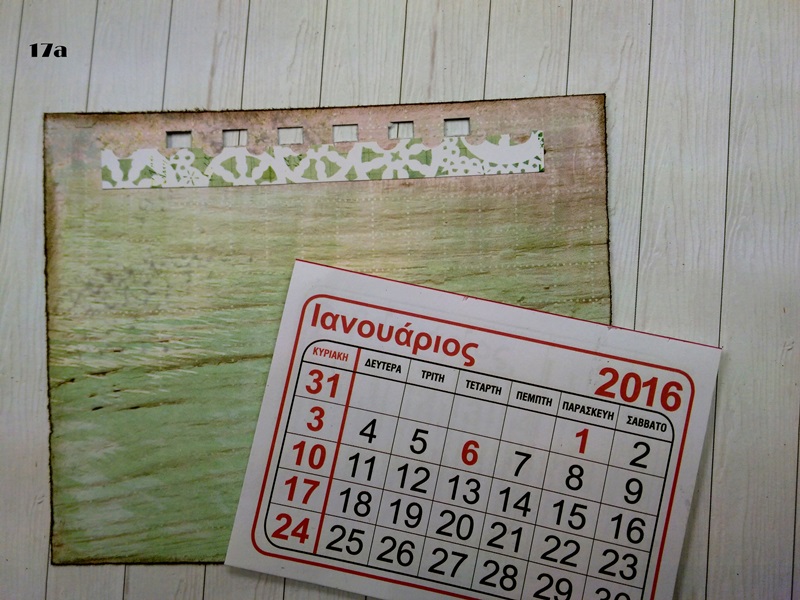
3 INNER MONTH PAGES
Now for my
inner pages, I have chosen the 7
Dots Studio - Verano Azul - Celadon 12 x 12 paper for two reasons. First
they fit perfectly when I cut it as they are already divided , and secondly I liked the quotes. I thought that the quotes will be the back of my month’s
page…so every time I pass a month and flip a page, I won’t see an empty paper
BUT an optimistic quote to make my day !!!
So start
cut and distress edges again…

Start decorate as you wish with stickers, tags
,stamps pen etc

And the
back side, as you flip the page , will
look like that….With a beautiful quote to watch every month…

Finally gather
all your pages ( cover and inner months)
and place them through the wire and
close it carefully..


Finally you
have your own hand made calendar , to join you for this year. Hope you liked
the procedure and be inspired. Thank you for your time and wish you the best to
come for this year too .Love you xoxoxox…

7 Dots Products used
Oh wow, this is absolutely stunning!! I love the layers!! They look amazing!! The details you added are perfect!! Fabulous tutorial, too!! The inside pages are gorgeous as well!! Love this!! Have a great weekend!! Big hugs :)
ΑπάντησηΔιαγραφήLisa
A Mermaid's Crafts